What Types of Drones Are Present in the Market?
Types of Drones Available in the Market TodayThere are various types of drones available in the market today, each designed for specific applications
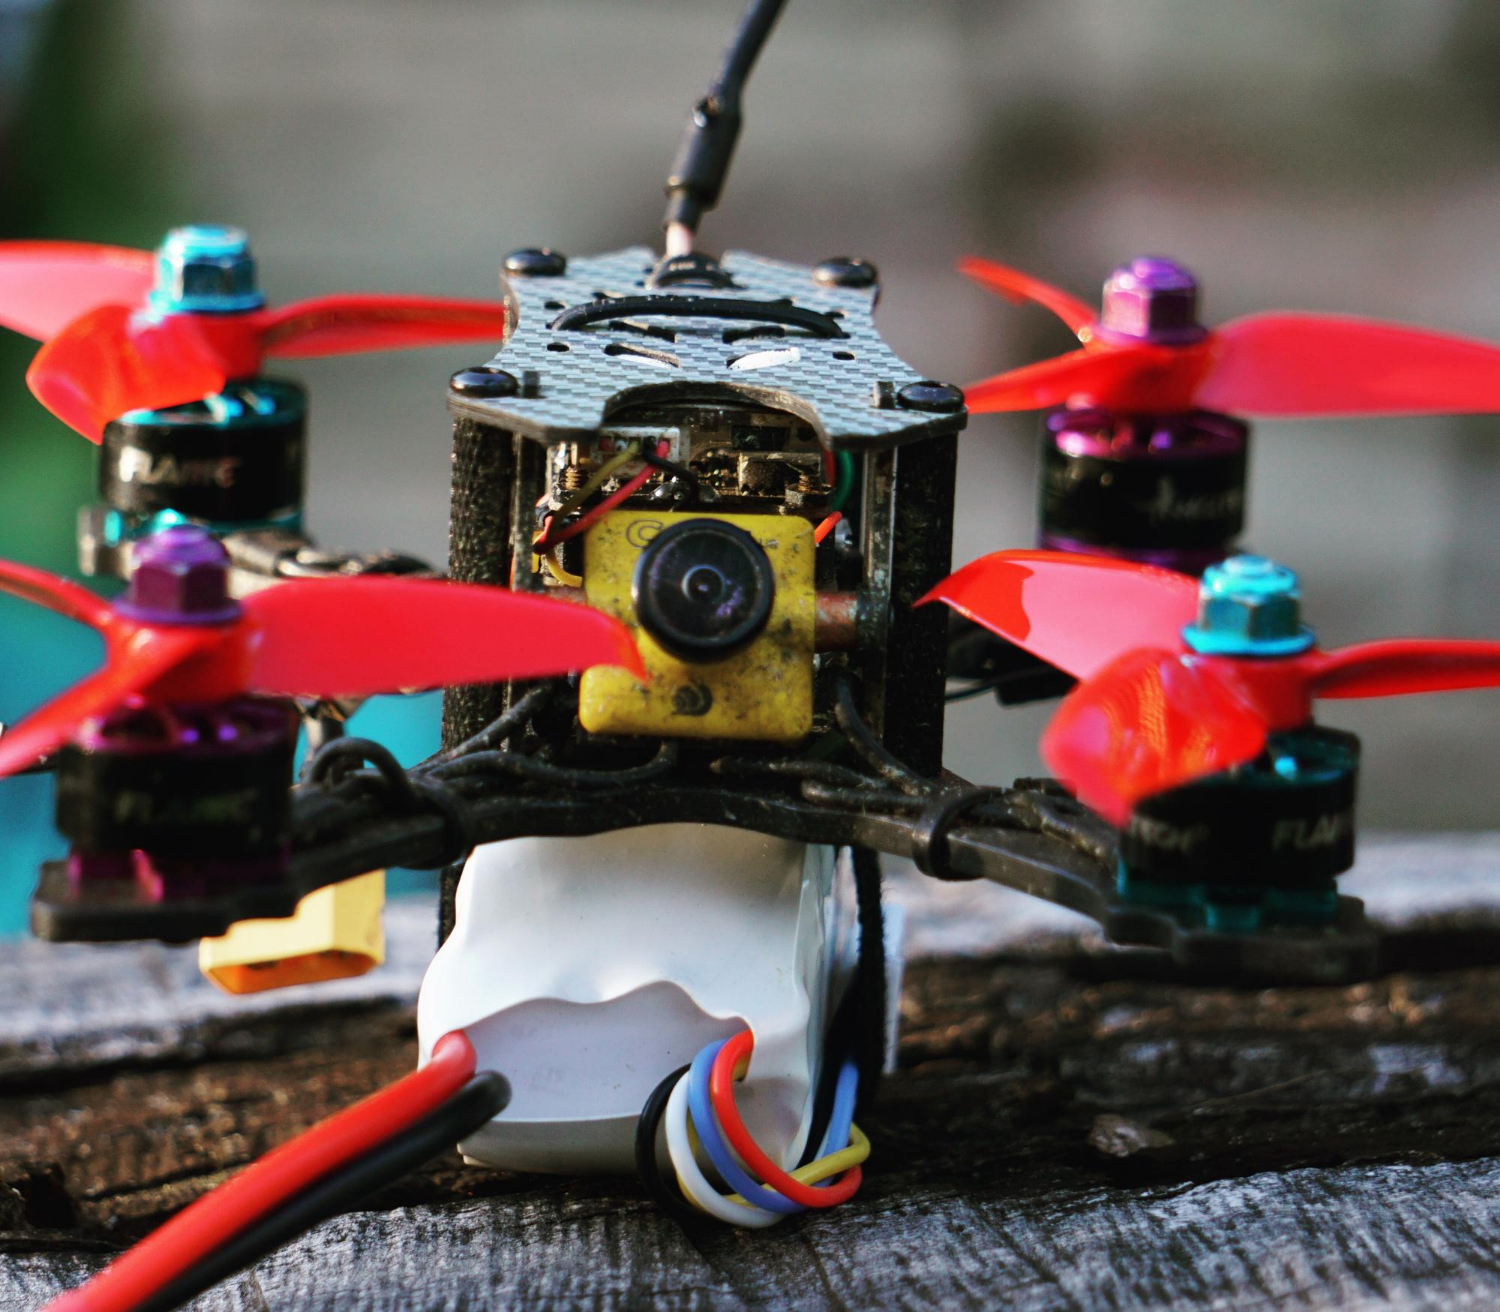
Have you ever considered building a drone from scratch? Well, this not only looks interesting, but it is that way in reality too. Whether you are someone who always thinks about technology or wishes to explore new horizons, learning how to build a drone opens up new possibilities.
It's a hands-on adventure combining engineering expertise with creativity.
Drones are becoming more and more prevalent among people for commercial
as well as recreational use. They can create spectacular aerial videos and
capture striking images. However, when buying a branded drone, there is
generally a need to spend a significant amount of money from your pocket.
To dodge this, you can build your drone. By undertaking this project, you can learn about engineering and electronics, and it's a fun thing to do as well. This blog will discuss the entire process of building a drone, as well as the legality of creating a DIY drone in India.
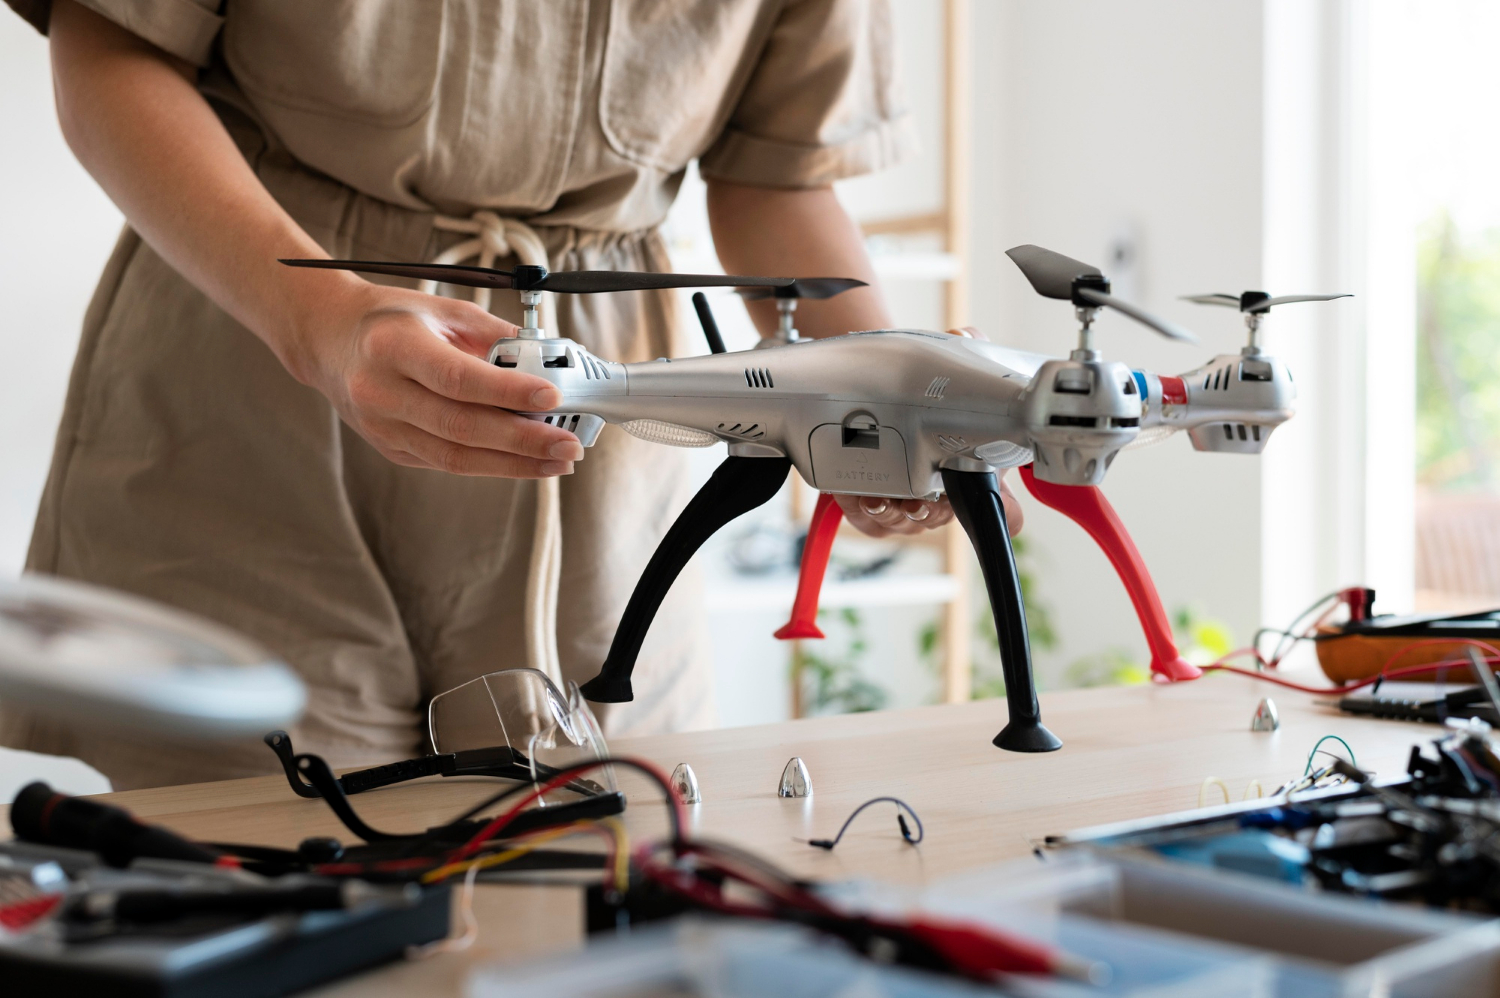
Firstly, in this process, a drone frame has to be chosen. The frame is referred to as the drone's skeleton, holding all the other components together. Frames are available in several shapes and sizes, so it's vital to choose one that's compatible with the other components. Some of the common frame materials comprise carbon fibre, aluminium and plastic.
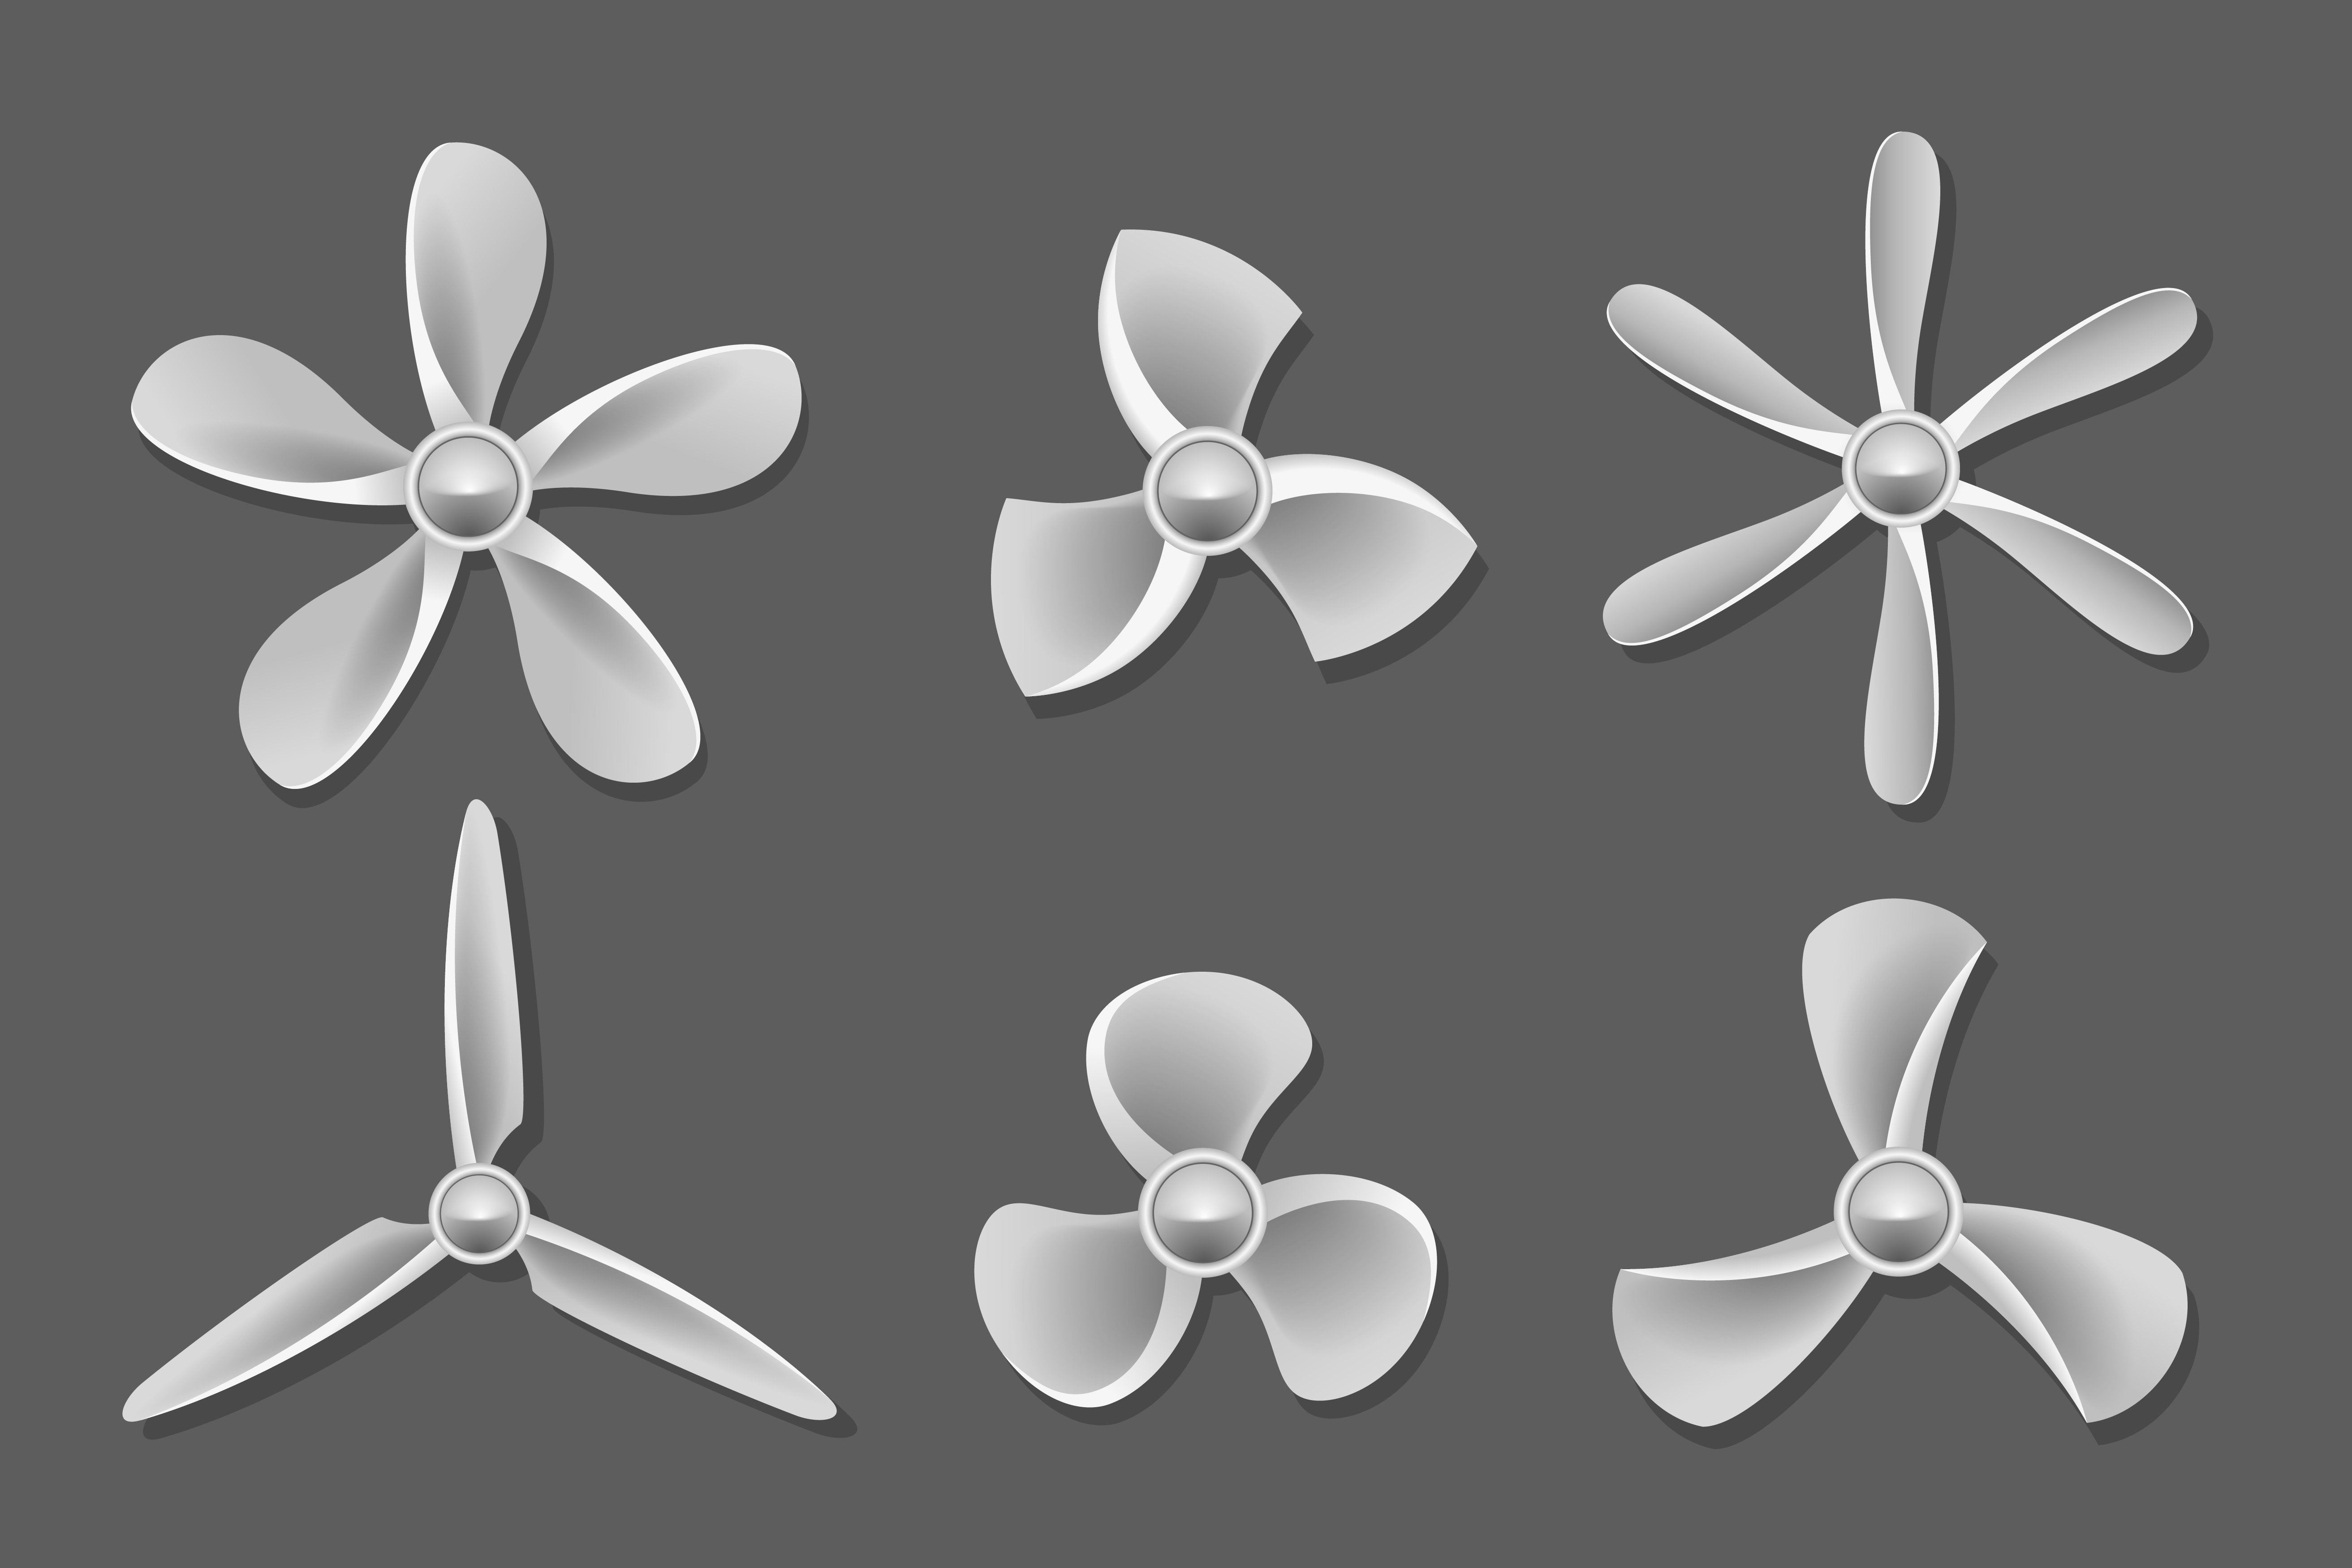
The subsequent step in the process of building a DIY drone is selecting the motors and propellers. These are accountable for lifting the drone off the ground and upholding its flight. There is a requirement for four motors and propellers, one for each corner of the frame. The size of the propellers and motors will depend on the drone's weight, so it's essential to choose ones suitable for the chosen frame.

The flight controller is aptly termed the brain of a drone. It regulates the motors and upholds the stability of the drone in the air. There are several flight controllers obtainable, each in several sizes and shapes. Some prevalent flight controllers comprise the CC3D, Naze32 and APM.
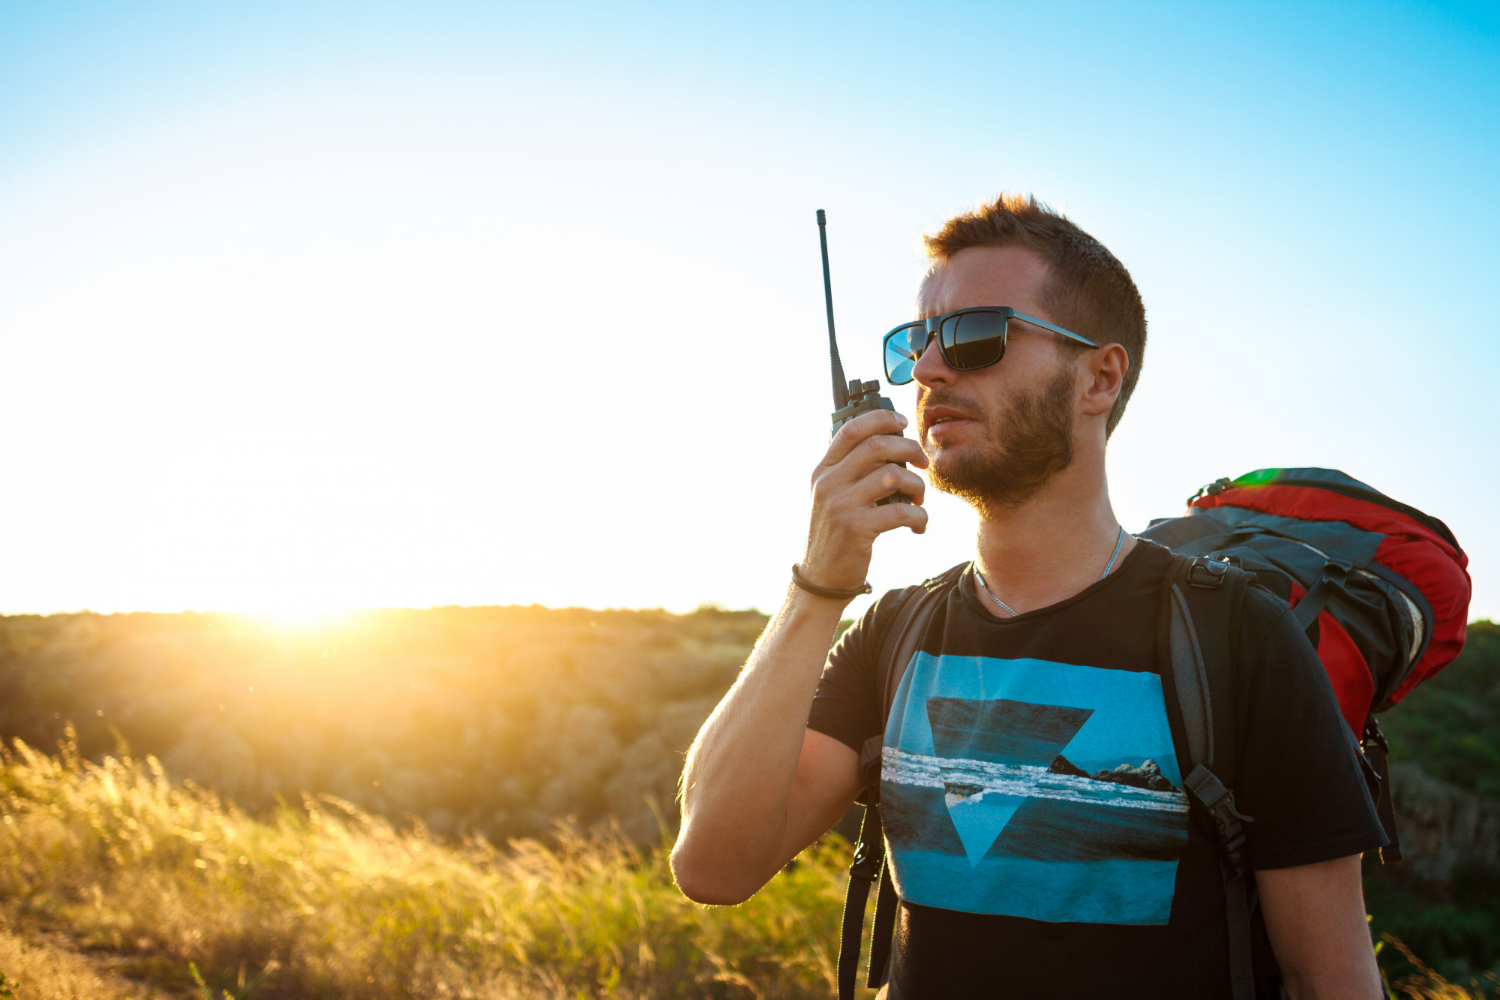
The radio transmitter and receiver allow the drone to be regulated. The transmitter is the hand-held controller used to fly the drone, and the receiver obtains the signal from the transmitter and transmits it to the flight controller. There are several radio transmitters and receivers available, and it's vital to select drones that are compatible with the chosen flight controller.

The battery and power distribution system power the drone. You will require a battery compatible with the motors and flight controller, along with a power distribution system that can distribute power to all components. Some prevalent battery types include LiPo and LiFePo, while prevalent power distribution systems comprise PDB and BEC.
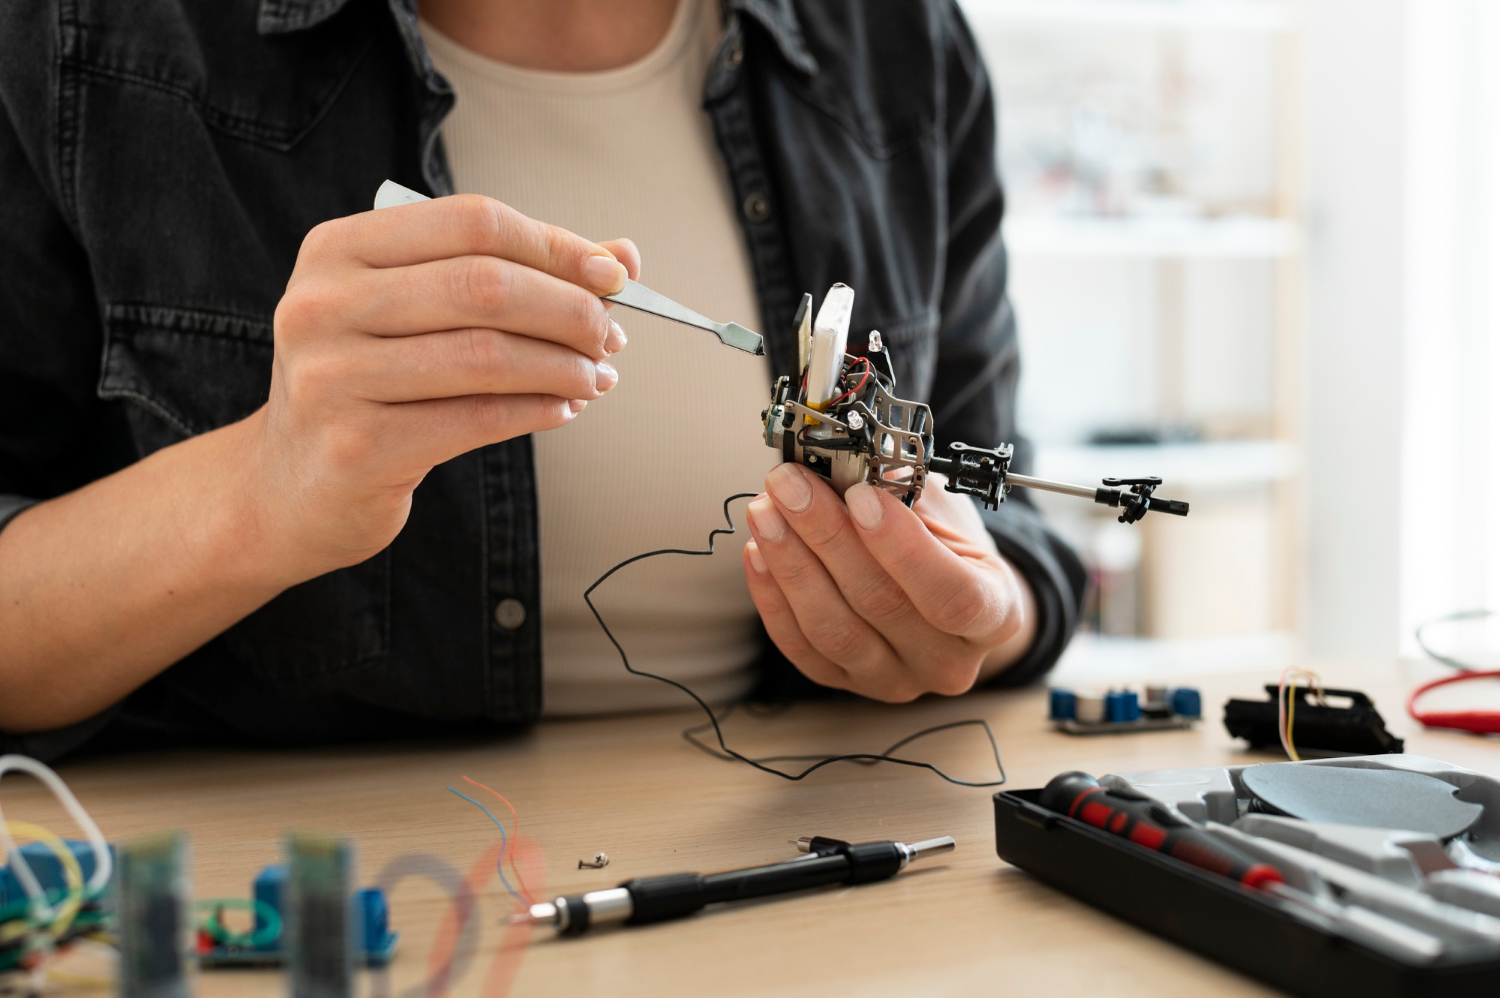
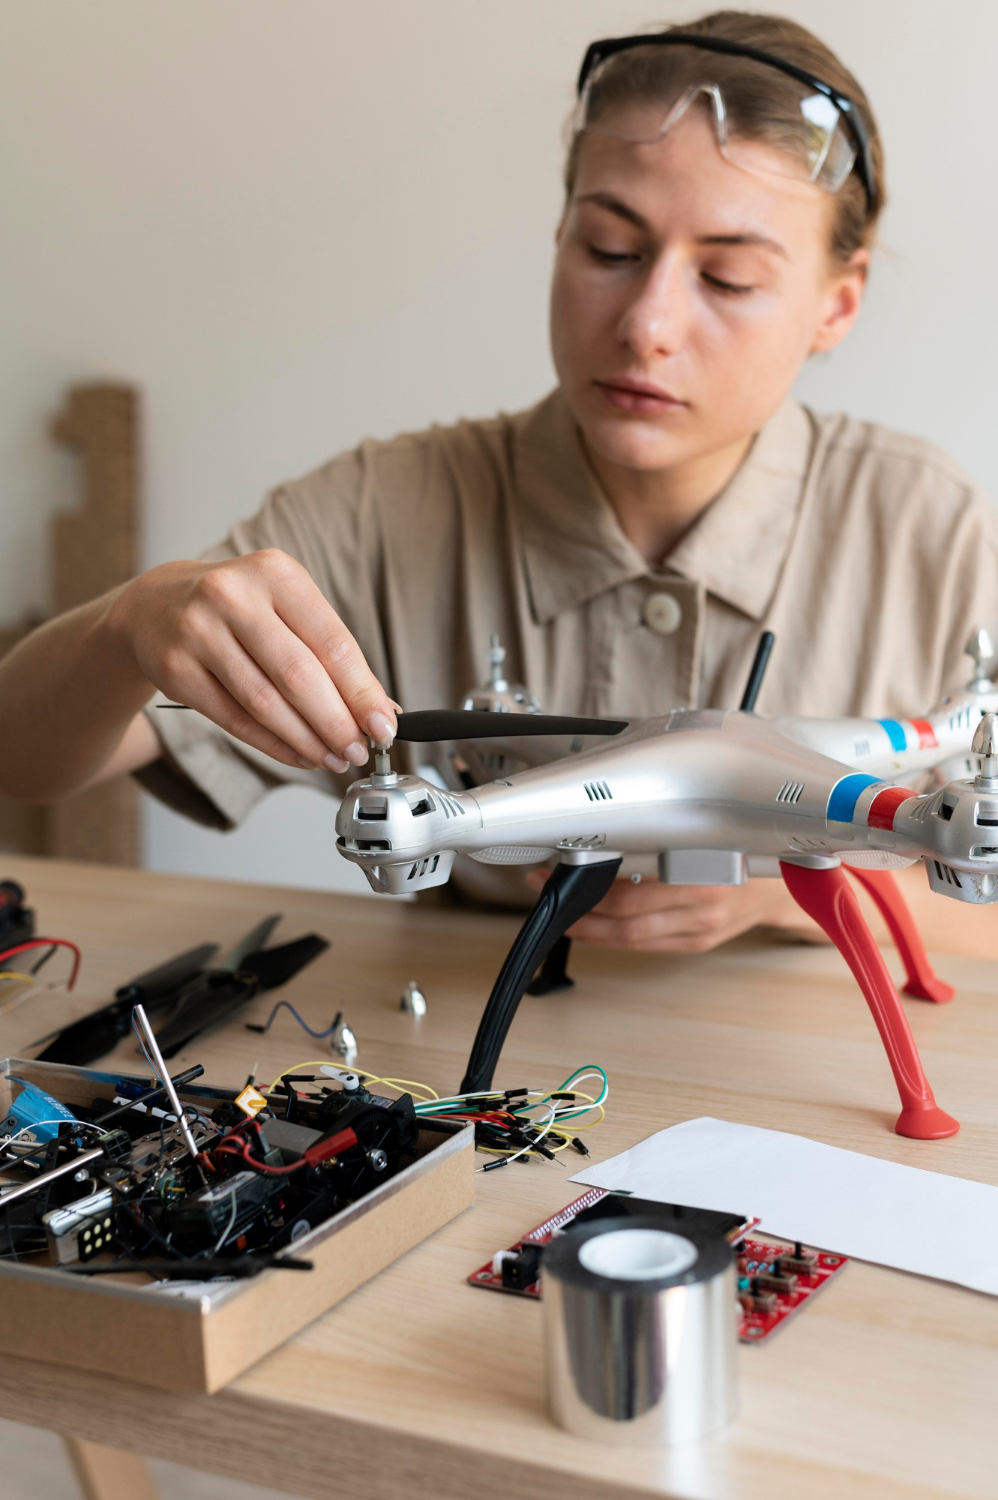
After selecting all the components, assemble them. Attach the propellers and motors. Then, attach the flight controller to the receiver and connect the motors to the frame. After that, attach the battery and PDS to the frame and attach them to the flight controller.

When the components are assembled, configure the flight controller. This includes programming the flight controller to respond to signals from the transmitter and maintain the drone's stability in flight. The configuration procedure will depend on the chosen flight controller, but several tutorials are available online to guide you through the process.
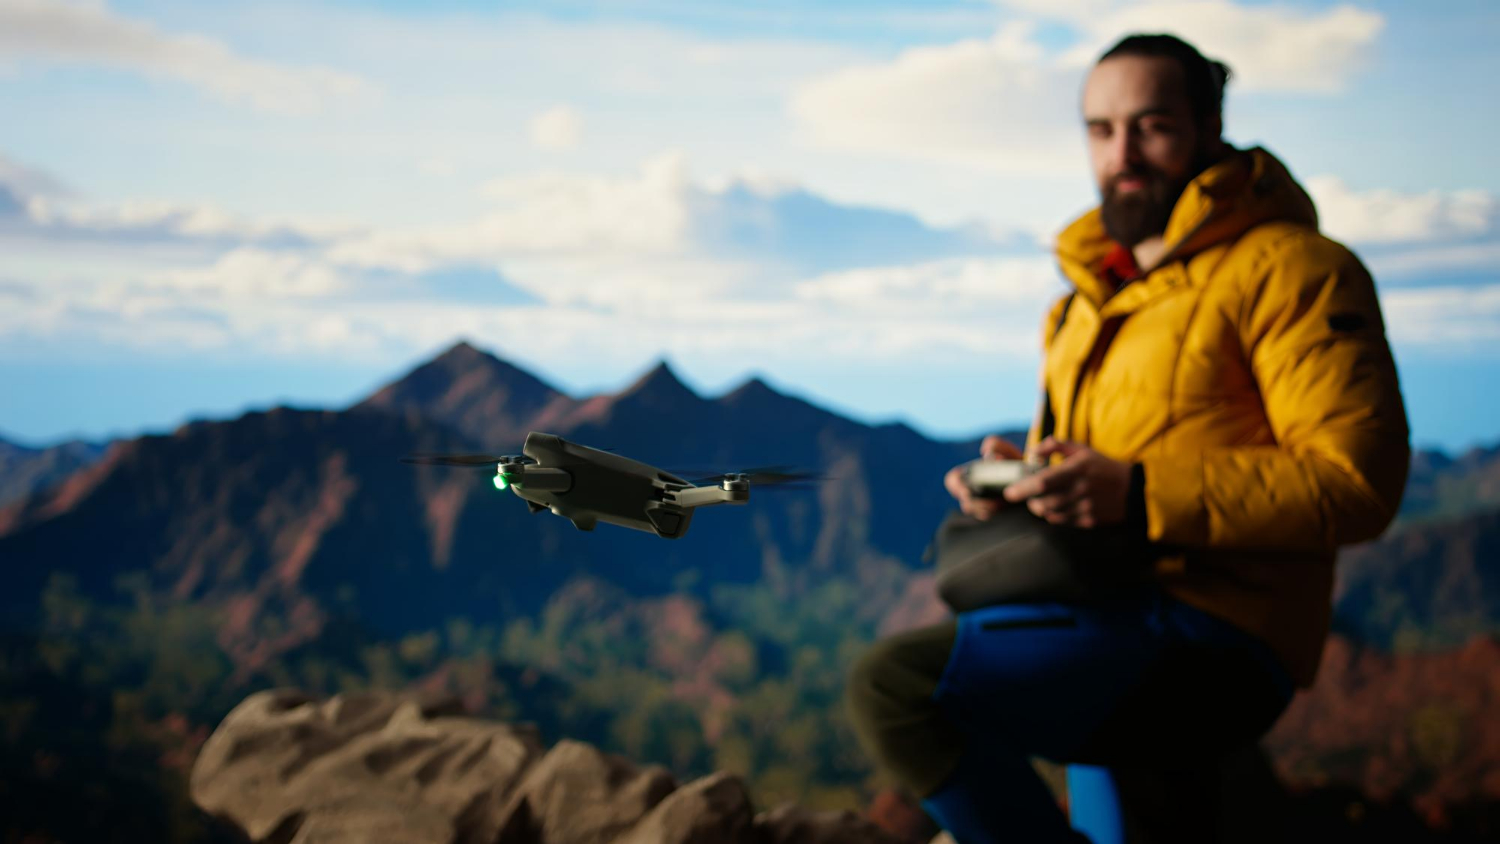
Once the flight controller has been configured, test and fly your drone. Test the motors to guarantee they are spinning in the right direction. Then, perform a hover test to guarantee the drone is stable in the air. Lastly, take your drone outside and fly it! Begin with short flights and slowly increase the distance and height as you become more comfortable with drone flying.
Yes, building a DIY drone in India is legal, provided you followthe regulatory framework established by the DGCA under the Drone Rules, 2021. These rules endorse innovation while guaranteeing safety and security in drone operations.

The Drone Rules, 2021, presented significant reforms, including:
With the rising acceptance of drones, many enthusiasts are building their DIY drones. Operating any drone in India, including a custom-built one, requires compliance with the Drone Rules, 2021, as issued by the Ministry of Civil Aviation (MCA) and regulated by the DGCA. If you're planning to fly a DIY drone, understanding and following the official approval process is crucial to stay on the right side of the law.
The first step in getting your DIY drone approved is to register yourself and your drone on the DGCA’s official Digital Sky platform. Once registered, you'll need to apply for a Unique Identification Number (UIN), which is essentially a license plate for your drone.
Here, you'll need to offer the technical specifications of your DIY drone, including its make, model, weight, and use. If it is a micro drone category or higher and is commercially apply for a Remote Pilot.
Check the Digital Sky airspace map to ensure that you are in a green zone. Safety features are a key component of drone compliance. While nano drones are exempt, all other drones should have Return-to-Home and geo-fencing capabilities.
Building a drone is a rewarding project that can teach individuals a great deal about electronics and engineering. By following the steps in this guide, you can assemble your drone quickly and easily. Remember to fly your drone safely and check local guidelines before flying in public spaces.
Just building a drone is not enough if you cannot fly it legally. Yes, there is a need for certification to legally fly most drones in India for both commercial and recreational purposes. One can obtain a certification only when one knows how to operate a drone responsibly and legally, and for this, proper drone training is necessary.
For learning how to fly a drone, you can enroll in an RPTO like Flapone Aviation and take to the sky. Here, you will get to know all about the theoretical basics of drone flying and also about how to propel drones in real-life scenarios, at the hands of experienced drone instructors.
Not sure which drone fits your needs? Our experts can guide you to the perfect UAV for your mission.